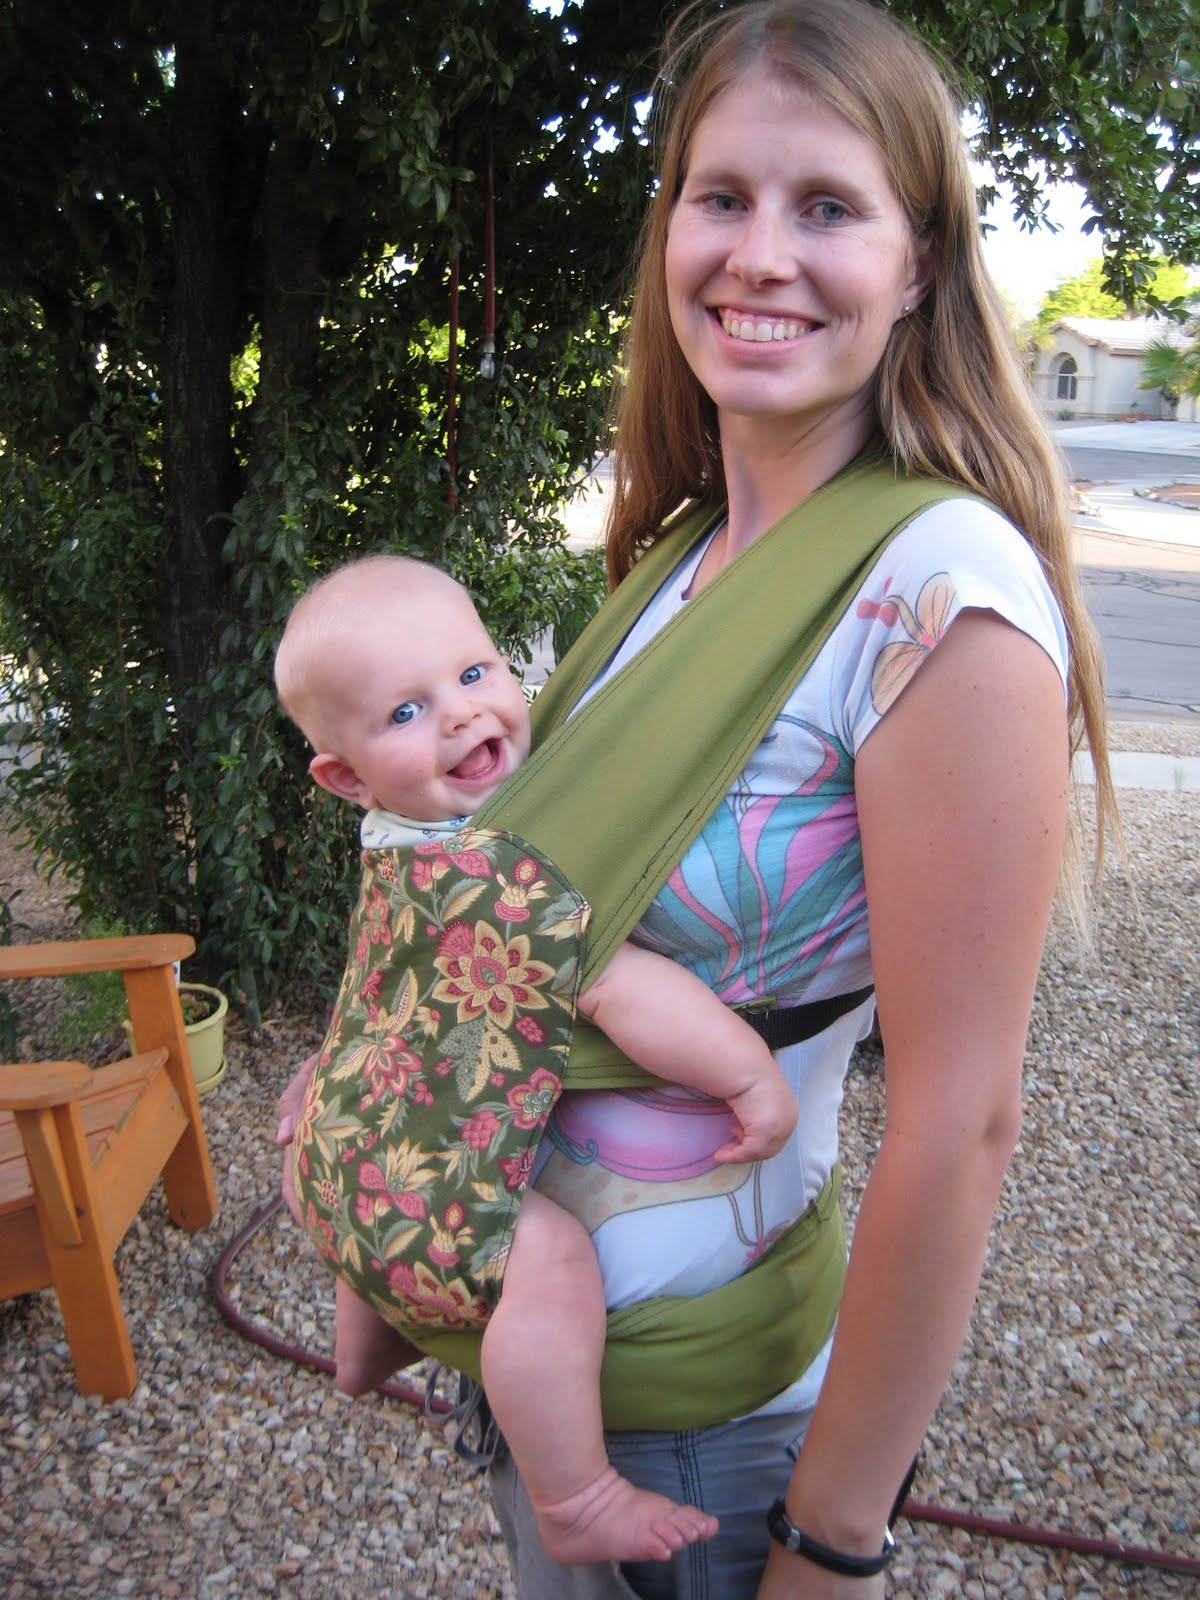
I recently made the best baby carrier ever! I combined a couple different patterns to make my own and love it so much that I have made this tutorial to share the joy. See how happy it makes my son?

Mei Tai carriers are for babies six months and older. They can carry your baby on your back or your front with the baby facing you.

Traditional Mei Tai carriers use really long straps that wrap around and tie in place. I prefer the simple buckle method. I cross the shoulder straps to distribute the weight better and cinched the waist buckles over to one side for easier solo access.

I made it reversible for added fun. Now it will match any outfit I wear =)
Reversible, No Tie Mei Tai

 Materials
:
1 yrd Heavy weight fabric 60" wide. (canvas, denim, duck cloth)
13”x14” outer fabric (quilter’s cotton is fine)
13”x14” inner fabric (quilter’s cotton is fine)
2 yrds 1” webbing
2 1” back pack buckles
1 wide back pack buckle
Fleece (for padding)Cutting
Webbing:two 26” long strips
two 3.5” long strips
Cut:canvas:
51” x 11” (one of these-for the waist strap)
32” x 12” (two of these-for the shoulder straps)6” x 5” (two of these-for strap attachments)
13” x 14” (for the body)
Fleece:
two 12” x 19“one 12” x 24”
Sew:Fold the fleece pieces lengthwise so the two raw ends meet in the middle. Then fold in half so there is a 3” wide, four layer thick pad. Stitch together briefly just so it keeps its shape.
Fold 1/2” on long sides of all straps (waist, 2 shoulder, 2 strap attachment)
Iron.Fold shoulder straps in half lengthwise so the folded edges lay on each other on the inside. Insert a the 12” x 19” fleece pad in each folded shoulder strap. (Place the pad five inches up from one of the ends of the strap.)
Sew along both edges of the shoulder straps 1/4” from edge and again 3/4” from edge. The fleece pad should fit inside without being sewn on by these stitches.
Fold the strap attachment in half lengthwise and sew down both long sides 1/4” and 3/4”.
Fold the waist strap in half. Sew along the folded edge 1/4” and 3/4”. DO NOT sew the open edge together yet.
To sew the 26” long webbing to one end of the strap attachment--overlap by 1” and fold down edge. Secure with rectangle with an x inside. Attach the male half of the 1” buckle to the webbing. Fold down the end of the webbing (3/4” or so) and sew in place--this keeps the buckle on the webbing.)Repeat for second strap attachment.
To sew the 3 1/2” webbing to a shoulder strap--slide the female half of the 1” buckle to the webbing and fold the webbing in half. Sew ends together to trap the buckle in place. Fold down the edge of the strap and overlap webbing onto the end of shoulder strap by one inch. Center the webbing and fold the sides of the strap in to cover the webbing and over lap on each other (see picture).

Fold down the top corners of the canvas body. Overlap the end of the shoulder straps onto the corners by two inches. Attach by sewing a rectangle with an x inside.
Attach the strap attachments right under the shoulder straps. Secure by sewing a rectangle with an x inside.
Lay the canvas body down on ground. Fold the four straps onto the body so none of them stick out the sides.
Lay the outer fabric face up onto the canvas body.
Lay the inner fabric face down onto the outer fabric.
Pin together.
Sew with 1/4”-1/2” inseam along top and down sides. DO NOT sew edges where straps are attached.
Turn right sides out. Pull straps through holes.
Top stitch with 1/4” seam around sides and top of body. (Fold fabric in where straps are to make look nice and protect edges from fraying.)
Insert bottom of mei tai body into remaining fleece pad where it opens lengthwise. Fold waist strap over pad and overlap onto the body of mei tai. Sew along the edge of the waist strap 1/4” and 3/4”.
Attach wide buckle parts to ends of wast strap. Fold down ends and sew to protect edges.

TADA:


 There was a graduation presentation on the last day of school. The children sang their three favorite songs to us and performed Caps For Sale. Ella was lucky enough to be the peddler and I thoroughly enjoyed watching my girl be the star of the show. Here, you can watch it too...


